Stained wood has long been admired for its natural beauty, rich grain patterns, and timeless appeal. However, design trends change, and many homeowners eventually decide they want a brighter, cleaner, or more modern look. Whether it’s outdated wood paneling, dark cabinets, trim, furniture, or doors, painting over stained wood can completely transform a space without the expense of replacement.
One of the most common questions homeowners ask is whether stained wood can be painted. The simple answer is yes. Stained wood can be painted successfully, but achieving professional-looking results requires more than simply opening a paint can and getting started. Proper preparation, the right products, and careful application are essential for creating a smooth, durable finish.
In this guide, we’ll explore everything you need to know about painting stained wood and how to ensure your project stands the test of time.
Why Homeowners Choose to Paint Stained Wood
While stained wood remains popular in many homes, there are several reasons people decide to paint it.
Dark wood finishes can make rooms feel smaller and less inviting. Painting these surfaces can instantly brighten a space and make it appear larger. In some cases, homeowners want to modernize their interiors without investing in expensive remodeling projects. A fresh coat of paint can provide a dramatic update at a fraction of the cost.
Painting stained wood is also a practical solution for surfaces that have become worn, scratched, or faded over time. Rather than replacing cabinets, trim, or furniture, painting can give them an entirely new appearance.
Understanding the Challenges of Painting-Stained Wood
Although painting-stained wood is possible, it presents unique challenges compared to painting unfinished wood.
Most stained wood surfaces are protected with a clear finish such as varnish, lacquer, shellac, or polyurethane. These protective coatings create a smooth, glossy barrier designed to resist moisture and wear. Unfortunately, they also make it difficult for paint to adhere properly.
Without adequate preparation, paint may peel, chip, blister, or fail prematurely. Additionally, some stains contain pigments or oils that can bleed through paint, causing discoloration and uneven coverage.
This is why preparation is the most important step in the entire process.
Step 1: Thoroughly Clean the Surface
Before sanding or priming, every stained wood surface should be cleaned carefully.
Over time, wood accumulates dirt, grease, dust, wax, and other contaminants that can interfere with paint adhesion. Kitchen cabinets are especially prone to grease buildup, while trim and furniture often collect dust and oils from regular handling.
Use a mild cleaning solution or degreaser to remove all surface contaminants. Once cleaned, allow the wood to dry completely before moving on to the next step.
Skipping this stage may cause problems later, even if you use high-quality paint and primer.
Step 2: Sand the Wood Properly
Many homeowners assume they must completely remove the stain before painting. Fortunately, this is not usually necessary.
The purpose of sanding is not to strip the wood down to bare material. Instead, sanding creates a slightly rough surface that allows primer and paint to bond effectively.
Use medium-grit sandpaper to remove the glossy finish and dull the surface. Focus on creating consistent texture rather than removing all traces of stain. Areas with heavy gloss or existing finish should receive extra attention.
After sanding, wipe away all dust using a tack cloth or damp microfiber cloth. Any remaining dust particles can affect the smoothness of the final finish.
Step 3: Repair Any Imperfections
Before applying primer, inspect the wood carefully for damage.
Fill dents, nail holes, cracks, and other imperfections with a quality wood filler. Once the filler has dried, sand the repaired areas until they blend seamlessly with the surrounding surface.
Taking time to address these issues ensures a more professional and polished appearance once painting is complete.
Step 4: Apply for a High-Quality Primer
Primer is one of the most critical components of painting-stained wood successfully.
A stain-blocking primer serves several important purposes. It helps paint adhere to the prepared surface, prevents stain bleeding through, and creates a consistent base for the paint color.
Without primer, dark stains can often show through lighter paint colors, creating an uneven or discolored finish. Certain wood species, such as cedar and redwood, are particularly prone to tannin bleed and require effective stain-blocking products.
Apply primer evenly and allow it to dry fully according to the manufacturer’s recommendations. Depending on the stain and wood type, a second coat of primer may be beneficial.
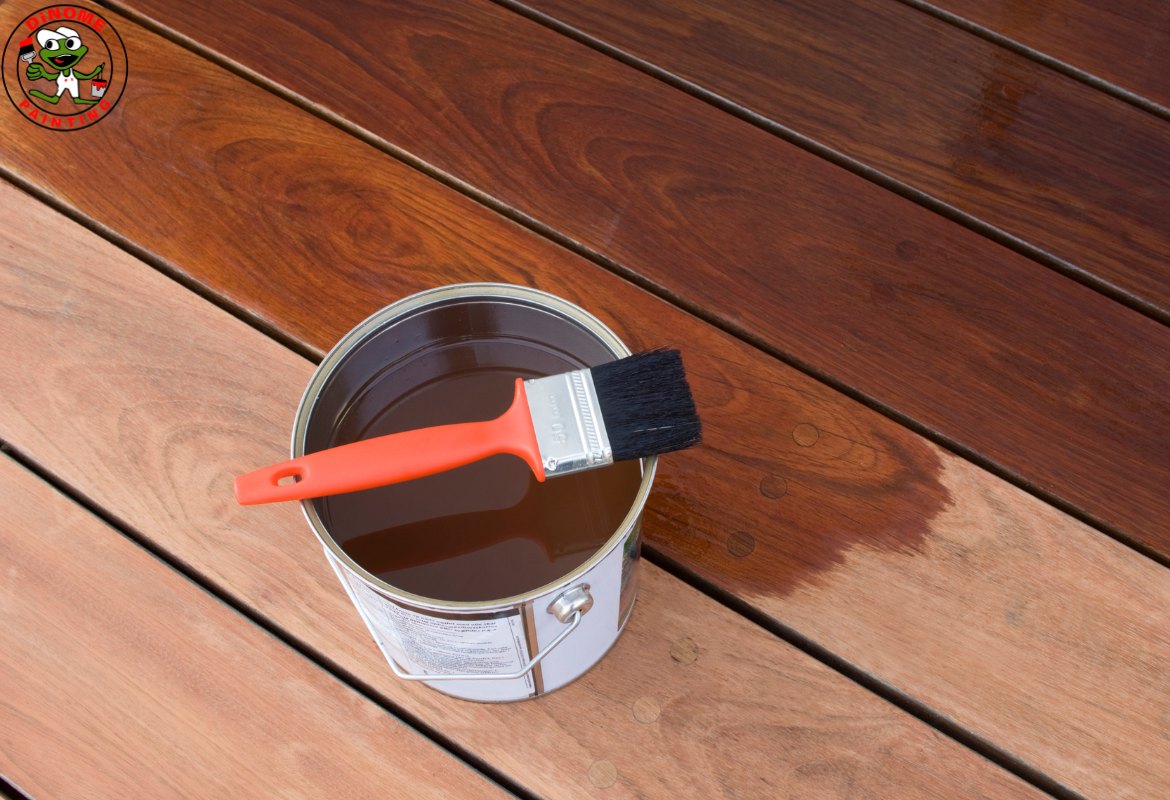
Step 5: Choose the Right Paint
Selecting the right paint is essential for durability and appearance.
Different projects may require different paint finishes. Satin finishes are popular because they provide a subtle sheen while remaining easy to clean. Semi-gloss finishes are often preferred for trims, doors, and cabinets because they offer greater durability and moisture resistance.
For outdoor projects involving Exterior Home Paint, selecting products specifically formulated to withstand weather conditions is crucial. These paints provide enhanced protection against moisture, UV exposure, and temperature fluctuations.
Quality paint not only improves appearance but also extends the lifespan of the finished surface.
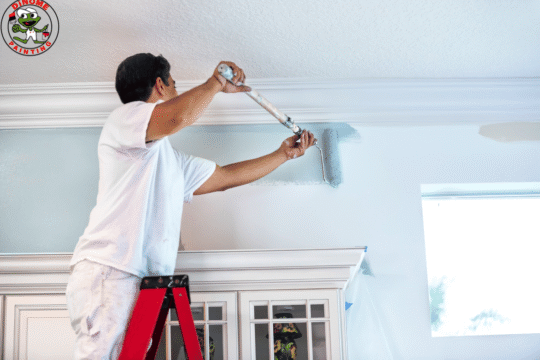
Step 6: Apply Paint Carefully
When painting stained wood, patience pays off.
Apply thin, even coats rather than trying to achieve complete coverage in a single application. Thick coats can result in drips, uneven texture, and longer drying times.
Use high-quality brushes, rollers, or sprayers depending on the project. Allow each coat to dry completely before applying additional layers.
Most projects require at least two coats of paint to achieve full coverage and a rich, consistent color.
Common Mistakes to Avoid
Even experienced DIY painters can make mistakes when working with stained wood. Understanding these common pitfalls can help ensure better results.
One of the biggest mistakes is skipping sanding. Paint applied directly over glossy stained surfaces often fails to bond properly.
Another common error is neglecting primer. While some paints advertise built-in primer capabilities, dedicated stain-blocking primers generally produce more reliable results when covering stained wood.
Rushing the drying process is another frequent issue. Applying additional coats too soon can compromise adhesion and create finish problems.
Finally, choosing low-quality materials may save money initially but often leads to disappointing results and shorter-lasting finishes.
Professional Results for Cabinets and Woodwork
Cabinets are among the most popular stained wood surfaces homeowners choose to paint. A fresh cabinet color can completely transform kitchens, bathrooms, and laundry rooms without the expense of replacement.
Many homeowners seeking Professional Painting Cabinets Long Island services discover that expert preparation and application techniques make a significant difference in the outcome. Properly painted cabinets can look factory-finished and maintain their beauty for years.
The same principles apply to trim, doors, built-in shelving, and decorative woodwork throughout the home.
When Professional Help Makes Sense
While painting stained wood can be a rewarding DIY project, some situations benefit from professional expertise.
Large-scale projects, intricate woodwork, extensive cabinetry, and older surfaces with multiple finish layers often require specialized tools and techniques. Professional painters understand how to address challenging surfaces and achieve consistent, long-lasting results.
Homeowners looking for comprehensive Painting and Wallpaper Services Long Island may find that combining professional painting with other interior updates creates a cohesive and polished appearance throughout the home.
Final Thoughts
Painting stained wood is an excellent way to refresh outdated interiors, modernize living spaces, and breathe new life into existing wood surfaces. While the process requires preparation and attention to detail, the results can be truly transformative.
Success begins with proper cleaning, sanding, repairing imperfections, and applying a quality stain-blocking primer. Once the surface is properly prepared, high-quality paint and careful application techniques will deliver a beautiful, durable finish.
Whether you’re updating cabinets, furniture, trim, doors, or paneling, painting stained wood offers a cost-effective solution that can dramatically enhance the appearance of your home. By following the right steps and avoiding common mistakes, you can enjoy professional-quality results that remain attractive and durable for years to come.