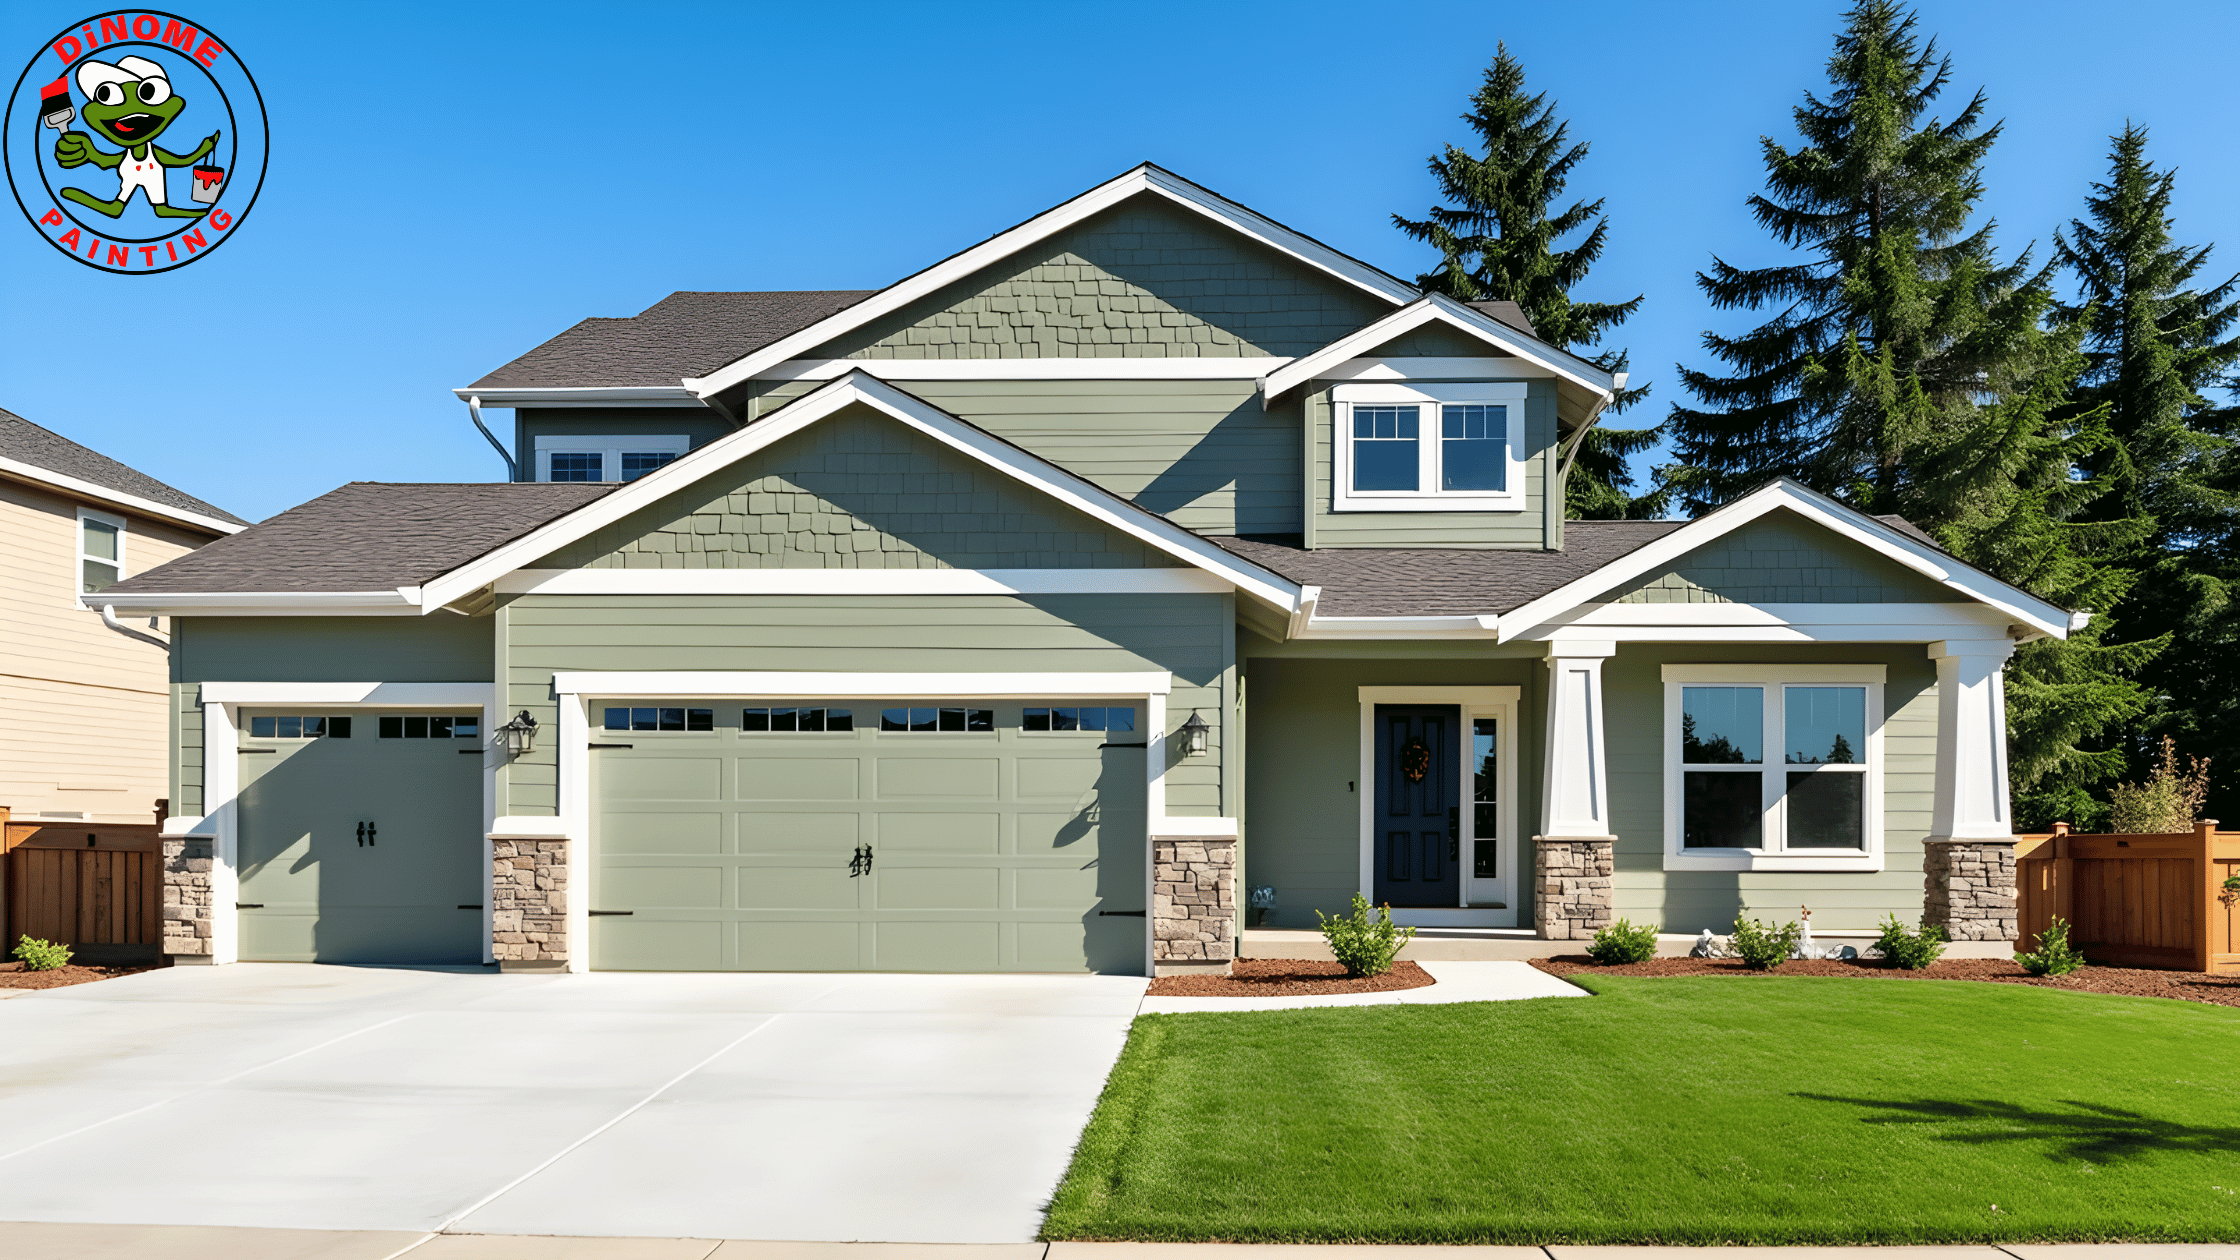
Painting the exterior of your home for the first time can completely change its appearance. A fresh color can make an older property feel newer, improve curb appeal, and give weathered siding or trim a much-needed refresh. But exterior painting is more than choosing a beautiful color and picking up a roller. Good preparation, suitable materials, proper weather conditions, and careful application all determine how long the finished surface will last.
Whether you’re planning a weekend DIY project or considering Professional Home Painting, understanding the process beforehand can help you avoid expensive mistakes. A successful exterior painting project starts long before the first coat goes onto the wall.
Start With a Thorough Inspection
Before buying paint, walk around the entire property and inspect the exterior carefully. Look for peeling or cracked paint, damaged wood, loose siding, failing caulk, mildew, stains, and areas where moisture may be entering.
Painting over these problems rarely solves them. In fact, fresh paint can make uneven surfaces and damaged areas even more noticeable.
Pay particular attention to:
- Window and door frames
- Fascia and soffits
- Siding joints
- Areas around gutters and downspouts
- Wooden trim
- Previously repaired sections
- Places where paint is bubbling or peeling
Make a list of repairs before you begin. This simple step can prevent interruptions once the painting project is underway.
Preparation Is the Most Important Step
A beautiful finish depends heavily on what happens before painting begins. Start by cleaning the exterior thoroughly. Pressure washing can remove accumulated dirt, mildew, algae, and loose surface residue that could interfere with paint adhesion.
Use appropriate pressure for the material you’re cleaning rather than assuming that maximum pressure is better. Too much force can damage wood, siding, or other exterior surfaces.
After washing, allow the house to dry completely. Painting damp materials can trap moisture beneath the coating and contribute to early peeling or other paint failures.
Next, scrape away loose and flaking paint. Sand rough edges around scraped areas so the transition between old and new surfaces is less visible.
If you find damaged wood, replace or repair it before painting. Cracked caulk around windows, doors, and joints should also be removed and replaced with a suitable paintable exterior caulk.
For older homes, particularly those built before 1978, consider the possibility of lead-based paint before disturbing old coatings. Professional testing and appropriate safety procedures are important when lead paint may be present.
Don’t Skip Primer
Primer is often treated as an optional step, but it can make a significant difference when you’re working with bare or repaired surfaces.
Bare wood, patched areas, and exposed sections should generally receive an appropriate exterior primer before the finish coat. Primer helps seal porous surfaces, improves adhesion, and creates a more consistent foundation for the final color.
The type of primer should match the material. Wood, masonry, and metal can require different products, so read the manufacturer’s recommendations carefully.
If the existing paint is stable and in good condition, you may not need to prime every square inch. However, heavily weathered, chalky, or substantially repaired surfaces may require more extensive priming.
Choose Exterior Paint for the Job
Exterior walls face sunlight, rain, temperature changes, wind, humidity, and seasonal expansion and contraction. Interior paint isn’t designed to handle these conditions.
For many residential applications, high-quality 100% acrylic latex exterior paint is a practical choice because of its flexibility, durability, and resistance to changing outdoor conditions.
Don’t make your decision based entirely on the lowest price per gallon. A cheaper product may save money initially but can require earlier maintenance if it doesn’t perform well in demanding conditions.
Think about the finish as well. Lower-sheen finishes can work well on broad side surfaces, while satin or semi-gloss finishes are often useful for doors, shutters, and trim because they are easier to clean and can withstand frequent handling.
Before purchasing large quantities, test your selected color on a small area. Exterior colors can look dramatically different depending on sunlight, surrounding landscaping, roof color, and the orientation of the house.
Pick the Right Weather Window
Weather can make or break an exterior painting project. Paint needs appropriate conditions to spread, dry, and cure correctly.
As a general guideline, moderate temperatures, manageable humidity, and a dry forecast provide better conditions for painting. Extremely hot surfaces can cause paint to dry too quickly, while cool or damp conditions can slow curing.
Avoid painting immediately before rains. Even if the forecast looks acceptable, check for overnight moisture and allow enough drying between coats.
Direct sunlight is another consideration. If possible, follow the shade around the property instead of painting large sections when the surface is intensely hot.
For homeowners in seasonal climates, late spring and early fall often provide comfortable painting conditions. However, always check the specific paint manufacturer’s application requirements because recommended temperature and humidity ranges can vary.
Apply Two Thin, Even Coats
Once preparation is complete and the weather is suitable, it’s finally time to paint.
For most exterior projects, two properly applied coats provide better coverage and consistency than trying to achieve the same result with one excessively thick coat. Thick paint can sag, run, dry unevenly, and create an inconsistent finish.
Work systematically rather than jumping randomly between sections.
A useful sequence is:
- Begin with soffits and fascia.
- Paint the main side.
- Finish with trim, windows, shutters, and doors.
Working from higher areas downward helps reduce the chance of dripping onto freshly completed sections.
Use brushes for detailed areas and cutting in. Rollers are efficient for larger surfaces, while sprayers can be useful on expansive projects when used correctly. Spraying also requires careful masking and preparation, so it isn’t automatically the easiest option for a first-time painter.
Maintain a wet edge while working across larger sections. This helps reduce visible lap marks and creates a more uniform appearance.
Allow Enough Drying Time
One of the easiest mistakes to make is rushing the second coat.
Paint may feel dry on the surface before it has fully cured. Follow the product’s recommended recoat time rather than relying only on touch. Cooler temperatures, higher humidity, and limited airflow can extend drying times.
Don’t allow a busy schedule to dictate the process. Waiting several additional hours is far better than applying another coat too soon and compromising the finish.
Know When DIY Isn’t the Best Choice
Exterior painting can look straightforward until you start dealing with ladders, multiple stories, extensive repairs, difficult rooflines, old coatings, or large surfaces.
If the project involves significant scraping, wood replacement, lead-painting concerns, high elevations, or complicated preparation, professional assistance may be worth considering. Homeowners researching an Exterior Painter Company Southampton NY should look beyond the quoted price and ask what preparation, priming, number of coats, materials, and cleanup are included.
A detailed written estimate can make it easier to compare contractors and avoid unexpected charges later.
Simple Tips for a Better Exterior Painting Project
Before starting, keep these practical tips in mind:
- Don’t paint over dirt, mildew, or loose paint.
- Give washed surfaces enough time to dry.
- Repair damaged materials before applying paint.
- Use primer where the substrate requires it.
- Choose paint specifically formulated for exterior conditions.
- Check temperature, humidity, and rain forecasts.
- Test your color before committing yourself to the entire house.
- Apply even coats rather than one heavy coat.
- Protect windows, landscaping, walkways, and outdoor furniture.
- Don’t rush between coats.
- Use proper ladder and personal safety equipment.
- Get professional help when the project exceeds your experience or equipment.
Give Your Home a Finish That Lasts
Exterior painting is an investment in both appearance and protection. The best results don’t come from rushing through the project or simply buying the most expensive paint. They come from treating every stage from inspection and cleaning to repairs, priming, application, and curing as part of the final finish.
A well-planned project can transform tired siding, dated trim, and weathered exterior surfaces while giving your home a cleaner, more polished appearance. If certain exterior elements require a different type of protective finish, specialized solutions such as Powder Coat Services Long Island may also be worth exploring for compatible metal components. Whether you handle the work yourself or bring in an experienced painting professional, focus on preparation first, choose materials suited to the surface, and give the paint enough time to perform properly. When those details are handled correctly, a new exterior color isn’t just a cosmetic upgrade it can become a durable improvement that keeps your home looking its best for years.