
Why Is Your Paint Bubbling? The Ultimate Guide to Fixing and Preventing Blistering Walls
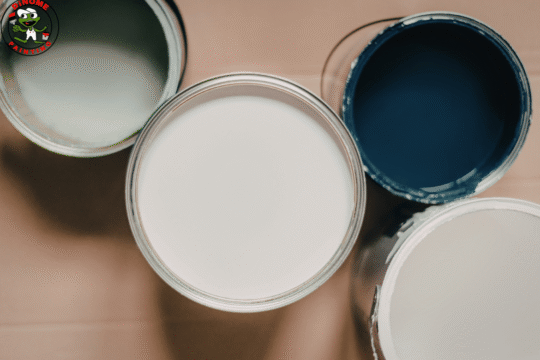
There is nothing quite like the satisfaction of a fresh coat of paint. You’ve spent hours picking the perfect shade of “muted sage,” moved the furniture, and taped the edges. But then, a few hours or perhaps a few days later, you notice them: small, unsightly bumps rising from the surface like miniature blisters.
Paint bubbling (or “blistering”) is one of the most frustrating setbacks for any DIYer or homeowner. It feels like a personal failure, but it’s just chemistry. The paint has lost its grip on the surface, and air or moisture has moved into the gap.
If you’re staring at a wall that looks like it has a case of chickenpox, don’t panic. In this guide, we’re going to dive deep into why this happens, how to fix it properly, and most importantly how to make sure it never happens again.
Phase 1: The “Why” – Identifying the Root Cause
Before you grab a scraper, you need to play detective. If you fix the bubble but don’t fix the reason for the bubble, you’ll be doing this all over again in six months. Here are the most common culprits:
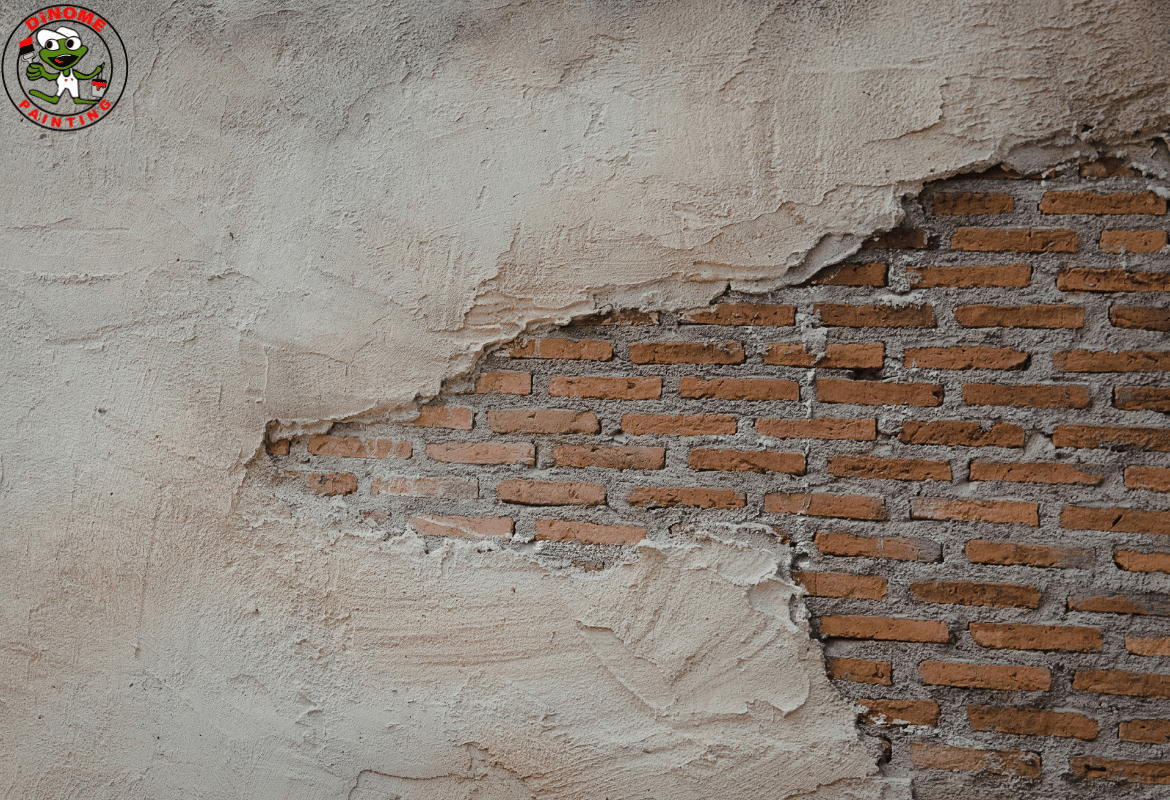
1. Moisture and Humidity (The #1 Enemy)
This is the most frequent cause in bathrooms and kitchens. If there is water vapor in the air or a slow leak behind the drywall, that moisture wants to escape. If the paint creates a waterproof seal, the water gets trapped, pushing the paint away from the wall. Even painting on a very humid day can trap microscopic water droplets under the film.
2. Dirty Surfaces
Paint is remarkably picky. It needs a porous, clean surface to “bite” into. If there is a thin film of dust, kitchen grease, or even oil from your fingerprints on the wall, the paint sticks to the dirt instead of the wall. Eventually, the weight of the drying paint pulls that dirt away, creating a bubble.
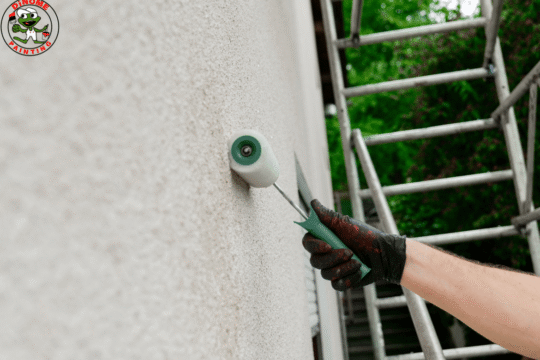
3. Heat Exhaustion
If you’re painting an exterior wall in the direct, blazing afternoon sun, or an interior wall right next to a radiator, the top layer of paint will dry too fast. This forms a “skin” while the paint underneath is still wet. As the solvents in the bottom layer try to evaporate, they have nowhere to go, so they lift the skin into a bubble.
4. The “Primer Gap”
Many people view primer as an optional step, but it’s the “glue” of your project. On porous surfaces like new drywall or bare wood, the surface can suck the liquids out of the paint too quickly, preventing a bond. Primer seals that porosity and provides a uniform surface for the paint to grab onto.
5. Incompatible Paint Layers
A common mistake in older homes is applying modern latex (water-based) paint over old oil-based paint. These two don’t mix. Without a transition primer, the latex paint will eventually slide right off the oily surface.
Phase 2: The Step-by-Step Fix
You cannot simply paint over a bubble. It might look okay for an hour, but as the new paint dries, it will pull on the old bubble and make it even larger. You must go back to basics.
Step 1: Scrape and Assess
Use a high-quality putty knife or a paint scraper to gently remove the bubbled area. You should scrape it until you reach a point where the paint is firmly adhered to the wall.
- Pro Tip: If the bubble goes all the way down to the drywall or wood, it’s likely a moisture or priming issue. If the bubble only goes down to a previous layer of paint, it’s likely a cleanliness or compatibility issue.
Step 2: Patching the Divot
Once you’ve scraped away the bubble, you’ll be left with a shallow “crater” where the paint is missing. You need to level this out. Apply a thin layer of joint compound or spackle using a wide putty knife. The goal is to feather the edges, so the patch is flush with the surrounding paint.
Step 3: Sanding for Perfection
Once the patch is completely dry (don’t rush this!), use fine-grit sandpaper (around 220 grit) to smooth the area. Run your hand over it; if you can feel a ridge with your eyes closed, you will see that ridge when you paint.
Step 4: The Cleaning Stage
Wipe the entire area down with a tack cloth or a slightly damp sponge to remove all sanding dust. Let it dry completely. If you’re working in a kitchen, use a degreaser (like TSP) to ensure no oils remain.
Step 5: Prime (Don’t Skip This!)
Apply a coat of primer to the patched area. If the bubbling was caused by water stains, use a stain-blocking primer. This prevents old water from bleeding through your new topcoat.
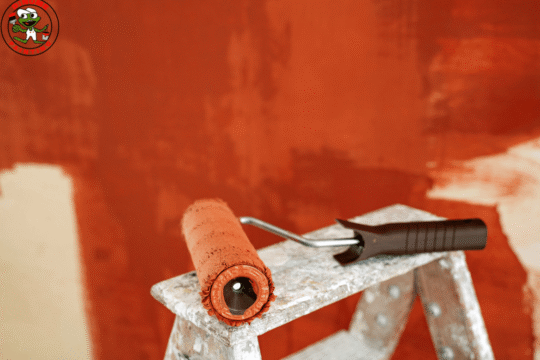
Step 6: Repaint
Once the primer is dry, apply your topcoat. If possible, try to use the same application method (roller or brush) as the original wall to ensure the texture matches.
Phase 3: Modern Updates and Prevention
The world of paint has changed in the last few years. Here is what you need to know to prevent future headaches:
- Watch the Weather (And Your App) Modern professional painters don’t just look at the sun; they look at the dew point. If the humidity is over 70%, reconsider painting. High-quality acrylic paints need a specific evaporation rate to form a “film.” If it’s too humid, the paint stays soft too long, increasing the risk of blisters.
- The Rise of “Self-Priming” Paints You’ll see many cans labeled “Paint + Primer.” While these are great for color changes on already-painted walls, they are often not enough for “problem” areas. if you’ve had bubbling issues in the past, ignore the 2-in-1 labels and buy a dedicated, high-adhesion primer. It’s cheap insurance for a project that should last ten years.
- Ventilation is Key If you are painting a bathroom, do not use the shower for at least 24 to 48 hours after painting. Even if the paint feels “dry” to the touch, it is still “curing” (hardening). Introducing steam during the curing process is the most common reason for bathroom paint failure. Turn on the exhaust fan and keep the door open.
- Check Your Paint’s Age Did you use a can of paint that sat in the garage through a freezing winter? If paint freezes and thaws, the emulsion breaks down. It might look fine in the can, but it won’t bond correctly to the wall, leading to you guess it bubbles. If the paint smells sour or looks like cottage cheese, throw it out.
Final Thoughts: Patience Over Speed
If there is one “human” truth about painting, it’s that we all want to be finished faster than we started. We want to skip the cleaning, skip the primer, and put on the second coat before the first one is ready.
However, paint bubbling is almost always a symptom of rushing. By taking the extra hour to wash the walls, allowing the primer to dry fully, and checking the weather, you save yourself the days of work required to scrape and patch a failed job.
Treat your walls with a little respect, give the layers time to breathe, and those smooth, professional-looking results will stay that way for years to come. Happy painting!
Vivamus finibus mollis libero. Ut ipsum urna, accumsan eu diam id, finibus faucibus augue. Curabitur mattis ut mi maximus pretium. Sed pellentesque nec metus sit amet suscipit. Donec sodales bibendum euismod.